-
Universal Boxing Stands

Hand Wrap
This instruction is demonstrated using a Wrapplicator™, however, the basic principles for wrapping one's hands are the same regardless of whether one uses a Wrapplicator™. If not using a Wrapplicator™, start with Step 2..
Step 1:
Hold the Wrapplicator™ by the handle and look at the clockwise indicator on the label. If the wrap is wound clockwise on the Wrapplicator™, as it is in below, you will wrap your right hand first. If the wrap is wound counter-clockwise, start with your left hand. Remove the black elastic band and set aside.

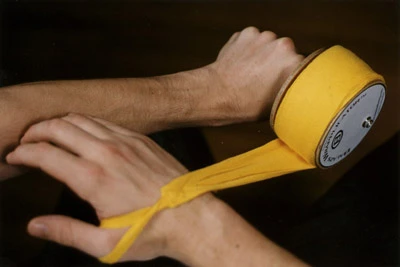
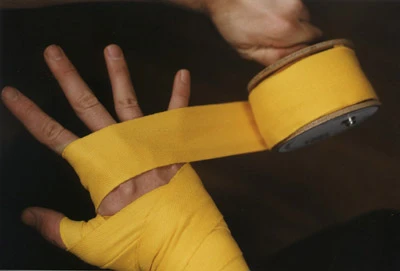
Step 2:
Place the thumb loop around your right thumb and start with the hand wrap across the back of your hand.
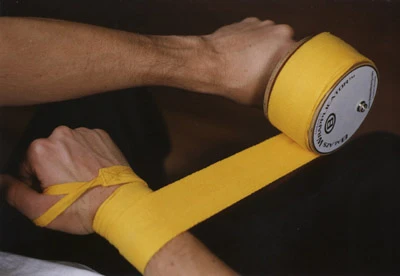
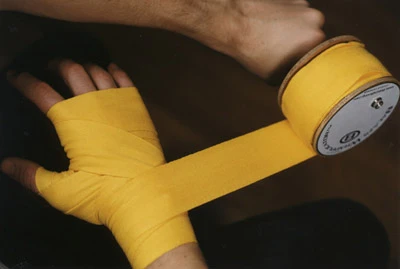
Step 3:
Wrap a few times around your wrist, and then at least once around your thumb. The hand wrap should feel snug around your wrist and hand, not tight.
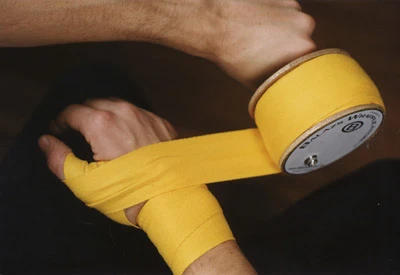
Step 4:
Now wrap your knuckles a few times keeping the fingers of your right hand spread apart. With the remaining hand wrap, alternate wrapping your wrist once or twice and then your knuckles once or twice.
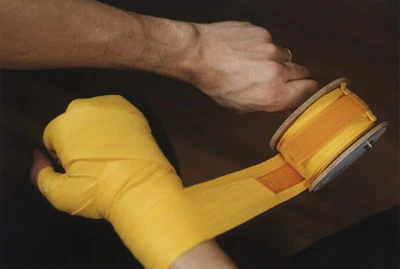
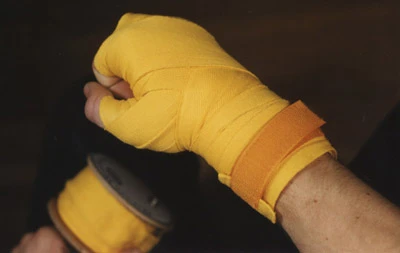
Step 5:
Periodically, make a fist to make sure you have not wrapped your hand too tight. Finish wrapping around your wrist and secure the hand wrap with the Velcro strap.